HMS Cornwall - T22B3 Skytrex / Scratch Build 1:1250 part 4

Finished at last, though not without a few hurdles on the way.
The first and worst was that, after airbrushing the main Light Weatherworks Grey and brush painting the decks, I snapped off one of the rather too fragile GAM-BO1 guns, leaving a crater in the deck as the glue and paint lifted off around it.

Tiny wedges of plastic glued to the surface was obviously a mistake. I shaped the replacements by filing the end of some dia 0.75mm brass rod, leaving a small circle to represent the base and a reduced diameter extension below so I could secure it to a hole drilled in the deck. This time I soldered the barrel on (trimmed afterwards) and glued the plastic rectangular piece on after gluing them in place.
After that and a bit of repair work, I could complete the painting. The flight deck markings and pennant numbers are decals from Skytrex - applied over Kleer and bedded in with Micro Set and Micro Sol.
The waterline was hard work. I was using a lining pen, held at an angle and loaded with slightly dilute black paint. That worked well previous times I've done it and the first side went smoothly but the paint blobbed and spread on the stern and second side, needing a couple of goes and paint brush repair work.
The whole was mat varnished with Rowney Soluble Mat Varnish. I've tried loads of different varnishes but this has proved the most reliable.


One thing I'm not so sure about is my decision to black in the windows. I had taken a lot of trouble to get the openings clean so the effect just with natural shadow was pretty good but looking on photos of the ships, the windows look very dark, virtually black. The model looks quite realistic, in this respect, but without magnification it looks as though I have just painted them and not bothered with any physical opening at all.
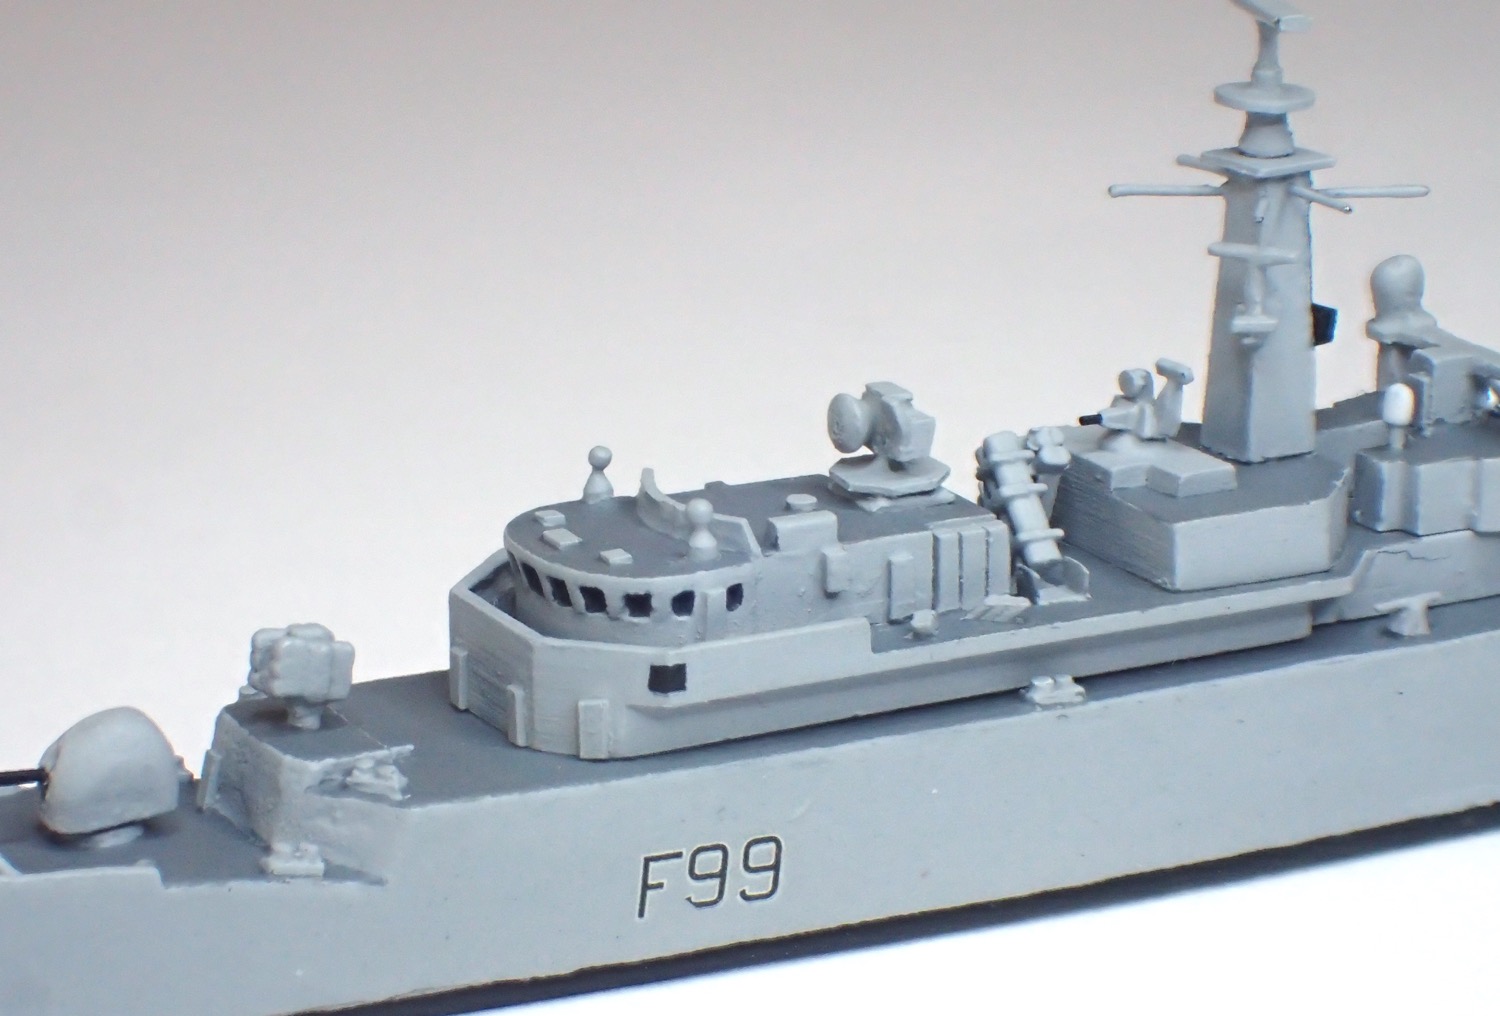

Such extreme magnification shows up every blemish and mistake. The lines from laminating Plasticard to make the structure behind the Harpoons look dreadful in the picture below. In real life with the naked eye, they aren't nearly so bad but it is a reminder to pay attention to the details and something to look to improve on in future.
An early compromise was to omit the slightly higher sections of bulwarks at the corners in front of the bridge. I didn't think that would be too noticeable at this scale but in fact it is another of those characteristic details that defines the look of the ship.


Comments
Post a Comment